Anonymous peer-to-peer communication on the Internet isn’t just a handy tool for privacy enthusiasts; it’s critical for preserving free speech in the digital world. Anonymous file-sharing services like BitTorrent are legion, but their utility is limited—you can share only files—and their reputations are unfairly tarnished by people who use them to share media illegally. If you’re looking for a highly anonymous peer-to-peer network with websites, forums, and more, look no farther than the Free Network, one of the best-kept secrets in anonymous communication.
Here’s how it works: Freenet is an anonymous peer-to-peer data-sharing network similar to BitTorrent, but with one key difference: All uploaded data is assigned a unique key, sliced up into small, encrypted chunks and scattered across different computers on the network. That form of data storage means that—unlike with BitTorrent—you don’t have to keep your Freenet client running to seed files you want to share on the network.
Instead, when someone wants to access a piece of data—a document or photograph, for example—they “fetch” it from the network using the unique key assigned to that piece of data. Freenet routes fetch requests through intermediary computers on the network that don’t store records of the request, ensuring that no single computer on the network knows the contents of any one file.
If that sounds familiar, it’s because this fetching system works very similarly to the way your Web browser does when it fetches websites from the Internet. In fact, once you have the Freenet client running on your PC, you can use most Web browsers to browse files and websites stored on the Freenet. For optimal security, download the most recent version of a browser you don’t normally use—say, Firefox or Chrome—and use it exclusively to browse Freenet, with private browsing enabled.
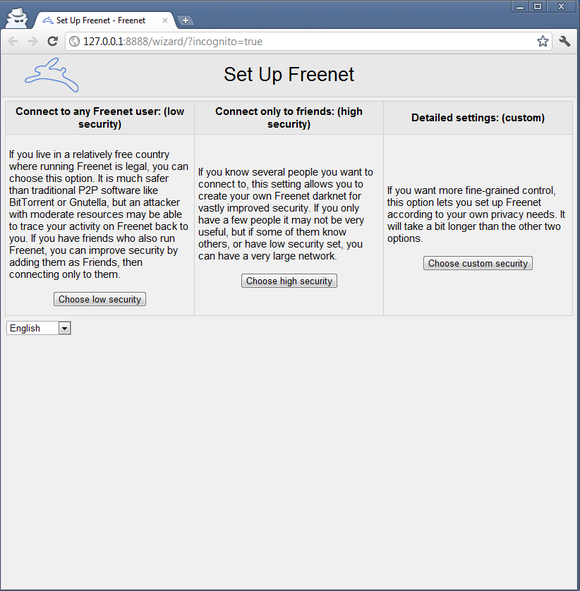
Next, head over to the Freenet Project website, and download the Freenet client for your operating system. The Freenet installer will walk you through the setup procedure and provide excellent explanations of the different levels of security you can choose from at each step of the process: who to connect to, how much of your hard drive and bandwidth to permit the Freenet client to use while it’s running, and so on.
The biggest choice you have to make is whether to use Freenet in friends-only mode—also known as darknet mode—for maximum privacy. In darknet mode, you can connect to Freenet only through trusted friends with whom you exchange encryption keys, which makes it very difficult for anyone to track what you’re doing on Freenet or even to determine that you’re accessing Freenet in the first place. Of course, funneling your Freenet access through a handful of trusted friends will create a traffic bottleneck that throttles your download speeds—so if you go this route, try to convince at least five or ten friends to join up with you so you can fetch Freenet websites (or “freesites,” as they’re called) and files from Freenet at a semi-decent speed.
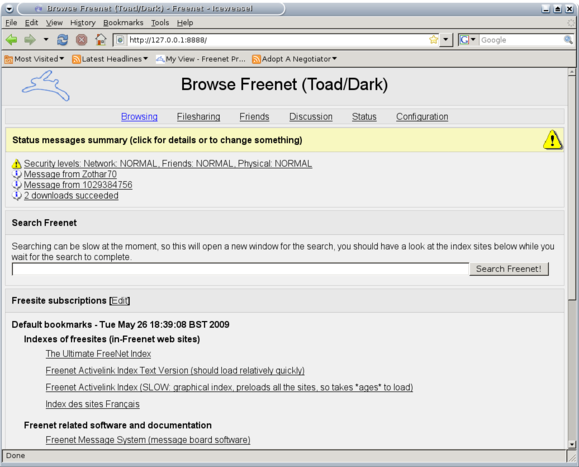
Once the Freenet client is up and running, right-click the client icon in your Windows taskbar and select Open Freenet to access the Freenet welcome page in your browser of choice. From here, you can browse Freenet, chat on Freenet forums, and connect with other Freenet users.
Freenet is a complex and powerful tool for privacy enthusiasts, capable of scaling to meet your privacy needs. If you want to build a private web of communication linking a few trusted friends, Freenet can help you do that. If you just want a way to share and consume content anonymously, Freenet can help you do that too.


 This week it was officially announced that the United States National Security Agency (NSA) has been mining data from cellular service provider, Verizon. People were, and are, freaking out! How could the government do such a thing? What kind of totalitarian state are we really in?
 In the not so distant past, a few people understood that the Web was going to become the largest communications tool ever imagined. The sheer volume of information that is generated and placed on the web everyday, is greater than all the information that existed in written form prior to 1800. Over 5,000 years of the written word could not equal what we publish in a day.


